Mastering xNFTs: A Comprehensive Tutorial for Developers with a Step-by-Step Walkthrough and Example Creation
I . Introduction
In this article, I will delve into the dynamic realm of xNFTs. The buzz around this topic has surged, fueled by the recent entry of Madlads into the minting landscape. The resonance of this subject lingers, prompting a shift from the immediate confines of the green screen to foster a refreshed perspective. As the architect of our journey, I find satisfaction in the progress made with MadLads, drawing parallels to the world of xNFTs. My exploration takes a turn towards deciphering the essence of xNFTs - executive NFTs, yet endowed with distinctive features residing within the backpack wallet.
II. xNFTs Showcase
A. Understanding Applications in the Backpack Wallet
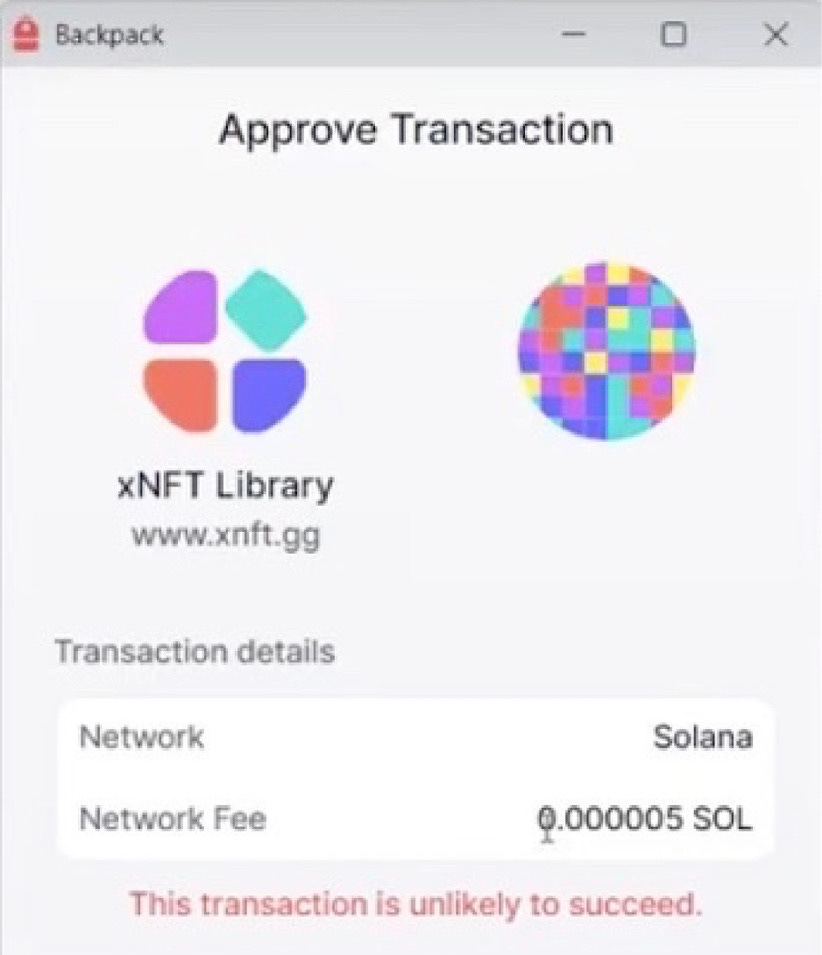
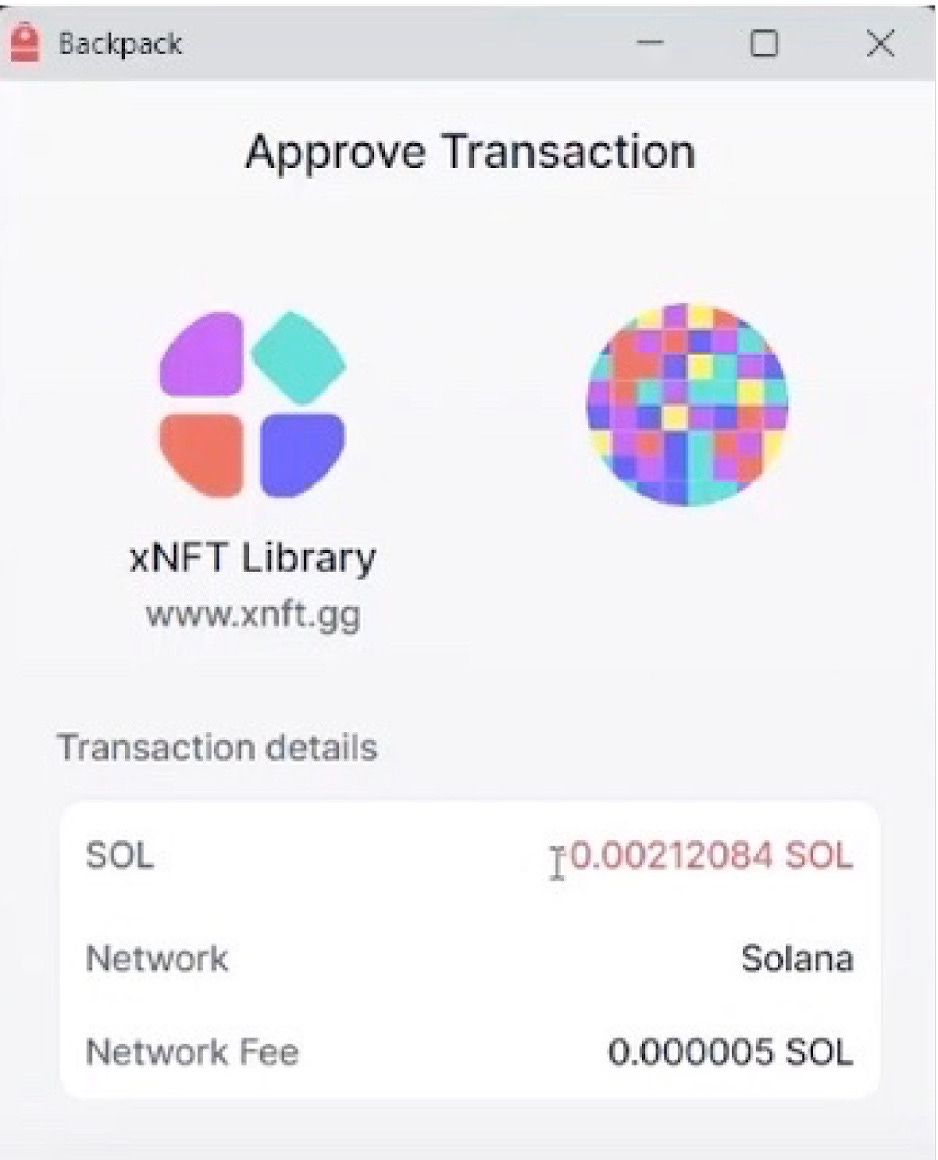
My exploration begins with the xNFTs library at xnft.gg, considering examples like Cheetos and Flappy Bird. The focus, however, shifts to a specific download, prompting a connection to the backpack wallet. Contemplating the creation of a new wallet for added flexibility, I recognize the need for SOL to cover the transaction fee, unveiling an intriguing insight—each transaction doesn't mint a new xNFTs but rather executes an action, potentially integrating the user into the xNFTs network.
B. Exploration of Available xNFT Options and the Installation Process
Navigating the installation process unveils the necessity of funds for a token account, leading to the ownership of a xNFTs account. This xNFTs install, distinct from token accounts, emphasizes the unique nature of xNFTs transactions. As I inspect the newly created application in the backpack wallet, I acknowledge its unconventional resizing—a testament to the diverse development styles in the xNFTs landscape.
C. Creating a New Wallet and Funding it for Transactions
With the funds secured, I embark on the installation once more, paying for a token account that serves a role in the xNFTs ecosystem. The journey showcases the intricacies of xNFTs development, with each application in the wallet acting as an executable digital asset. The narrative transitions to the desire to build our own application, prompting a quest for knowledge in React xNFTs documentation to craft personalized applications within the Solana ecosystem.
III. The Docs and Installation of xNFTs
To dive into the installation process, users are guided through steps like enabling developer mode and installing necessary CLI (Command Line Interface) tools. The documentation highlights the importance of caution when installing, as the xNFTs library is curated to ensure a level of safety against potential scams.
To aid developers, the documentation outlines the installation of npm packages and the CLI. It guides users through the steps to set up a development environment, ensuring that the necessary components are in place to start creating and testing custom xNFTs within the Solana ecosystem.
A. Basic xNFT Implementation
Below is the fundamental structure of a minimal xNFT program:
This concise code snippet represents a simple xNFT application, featuring the classic "Hello, World!" message. You can build, mint, and seamlessly run this xNFT program within the Backpack Wallet as a native application.
B. Installation
1. Install Backpack:
To commence, install Backpack by obtaining the latest alpha release from the releases page.
2. Install NPM Packages:
For building your UI, install the necessary NPM packages. You can defer this step for now if needed.
3. Install the CLI:
Acquire the CLI to bundle xNFTs by executing the following command:
4. Install React xNFT:
Install the react-xnft package, a prerequisite for building components, using the command:
You will come up like this:
5. Build Versions:
Note that packages are released and tagged corresponding to each Backpack build. In case of unexpected issues, ensure your package version aligns with your Backpack version.
C. Stimulator
The need for a simulator is introduced, allowing users to develop and test xNFTs with features. This part emphasizes the significance of the simulator in mimicking the environment of an official xNFTs, especially when the developed application is not yet an official addition to the library.
1. Clone the Quickstart Repository
Begin by setting up your new xNFT repository:
git clone git@github.com:coral-xyz/xnft-quickstart.git
It should be like this:
cd xnft-quickstart
yarn
This process may take some time, but upon completion, it will resemble the following:
yarn dev
Below are some shortcuts you might need:
Executing these commands will initiate the development server for hot reloading. Additionally, in the backpack wallet, the simulator is now accessible. Clicking on it will open the application that was recently initiated.
2. Issues you might faced while attempting to open the simulator
Working with the simulator involved overcoming initial challenges when attempting to open the app. The simulator, upon clicking, was expected to open the app that had just been started. However, an issue emerged with "localhost refusing to connect."
To address this, a library had to be reinstalled. Following the reinstallation, the xNFTs started properly, running on localhost port:19006
Upon accessing the simulator through the browser, the xNFTs sample page began loading successfully. The simulator, activated with the developer mode, offered a preview of the xNFTs within the browser. It was noted that the simulator could also be accessed by going to localhost at the designated port (19006).
Inside Backpack, the simulator showcased the xNFTs app with tabs, simulating the hosted xNFTs. For development efficiency, the preference was expressed to work in the local browser rather than opening Backpack consistently.
D. Exploring Example Code
Delving into the example code provides valuable insights into the structure of xNFT applications. The downloaded xNFT Quick Start app, extracted from the skit repository, forms the basis of exploration. The app generates a tab navigator, consisting of three screens – Home, Token, and Example.
1. Home Screen:
- Simple text display using the Text component.
- Incorporation of a FlatList to showcase a list of items.
2. Token Navigator:
- A more intricate screen fetching data from the CoinGecko API.
- Implementation of useEffect and data retrieval, exemplifying the integration of external resources.
- Utilization of FlatList to present data in a structured format.
3. Example Screen:
- Illustration of diverse UI elements, including buttons, local images, links, and custom fonts.
- Showcase of on-press functionality to trigger actions.
- Integration of local images using the required function from the assets folder.
- Styling with CSS formatting to enhance visual appeal.
- Handling link opening with the linking.openURL method.
The example code not only provides a hands-on understanding of React xNFT components but also demonstrates practical applications such as fetching data from external APIs, incorporating UI elements, and handling user interactions. This serves as a foundation for creating customized xNFT applications within the Solana ecosystem.
IV. Example of Building a xNFTs
A. Setting Up a New Screen
To initiate the process of building a personalized xNFT, the first step involves setting up a new screen within the application. This can be achieved by:
1. Creating a New Screen:
- Decide on a distinct screen name for your xNFT. In this example, a screen named "Andrew first xNFT" is added.
- Use the existing code structure, perhaps by copying from another screen (e.g., the Home screen) and adapting it for your new screen.
- Ensure that the screen name is correctly positioned within the hierarchy. The `name` attribute determines the order in which screens appear.
2. Testing and Reloading:
- Save the changes to automatically reload the application.
- Verify that the new screen, "Andrew first xNFT" appears as intended within the application.
B. Configuring Public Key and Connection
Now that we have set up the new screen named “Andrew first xNFT" the next step involves configuring the connection and obtaining the public key necessary for the xNFT development.
1. Importing Required Dependencies:
- Ensure the necessary dependencies are imported at the beginning of the file
2. Setting Up State and Variables:
- Initialize state variables, such as `blockhash` and `signature`, to manage transaction-related information.
- Define the receiver's public key to facilitate transactions.
3. Accessing Public Key and Connection:
- Utilize the `usePublicKeys` hook to obtain the public key, ensuring it is converted to the required format (in this case, Base58).
- Use the `useSolanaConnection` hook to establish a connection within the Solana ecosystem.
The ‘onButtonClick‘ function is designed to fetch the latest blockhash from the Solana blockchain using the established connection. It then performs a basic check for the availability of the public key.
4. Debugging and Testing:
- Address any issues or errors encountered during the debugging process.
- Test the application within the designated environment, checking for successful retrieval of the public key and connection.
V. Sending a Transaction from the xNFT
A. Built the Transaction
- Build a transaction by creating a `SystemProgram.transfer` instruction with the following parameters:
`fromPubkey`: Use the sender's public key (`pk`).
`toPubkey`: Specify the receiver's public key (`receiver`).
`lamports`: Set the amount of lamports to transfer (e.g., 1000000).
- Create a new `Transaction` instance (`tx`).
- Add the created instruction to the transaction using `tx.add(ix)`.
B. Constructing and Sending a Transaction
1. Buffer Creation:
A Buffer named `data` is created with a length of 12 bytes. Subsequently, the `writeUInt32LE` method is used to write values into specific positions within the buffer. The values represent the transfer instruction discriminator and lamports.
2. Transaction Instruction (ix) Creation:
This part involves creating a transaction instruction (`ix`). It utilizes the `TransactionInstruction` class, defining keys, their properties (signer, writable), the program ID (`SystemProgram.programId`), and the data buffer containing the transfer instruction.
3. Transaction (tx) Creation:
Here, a transaction (`tx`) is initialized using the `Transaction` class, and the previously created instruction (`ix`) is added to this transaction.
4. Sending the Transaction:
The transaction is sent using `window.xnft.solana.send(tx)`. This involves interacting with the Solana blockchain to broadcast the transaction. The resulting signature is logged, and the `setSignature` function is used to store it.
5. Error Handling and Debugging:
The code checks for errors during the transaction sending process. Issues such as rejected signature requests or insufficient account keys are identified and addressed. In the example, the code iteratively debugs and corrects the issues, eventually achieving a successful transaction.
This represents the transaction history for the example:
V. Conclusion
Alright, folks, that's a wrap on our xNFT adventure! I’ve taken a deep dive into the wild world of Solana, from messing around in the Backpack Wallet to cracking the code on sending transactions. This tutorial is your backstage pass to the xNFT rock concert. It's not just about code; it's about sparking creativity, overcoming hurdles, and growing in this crazy xNFT universe. So, go ahead, unleash your coding mojo, and let the xNFT magic begin!


